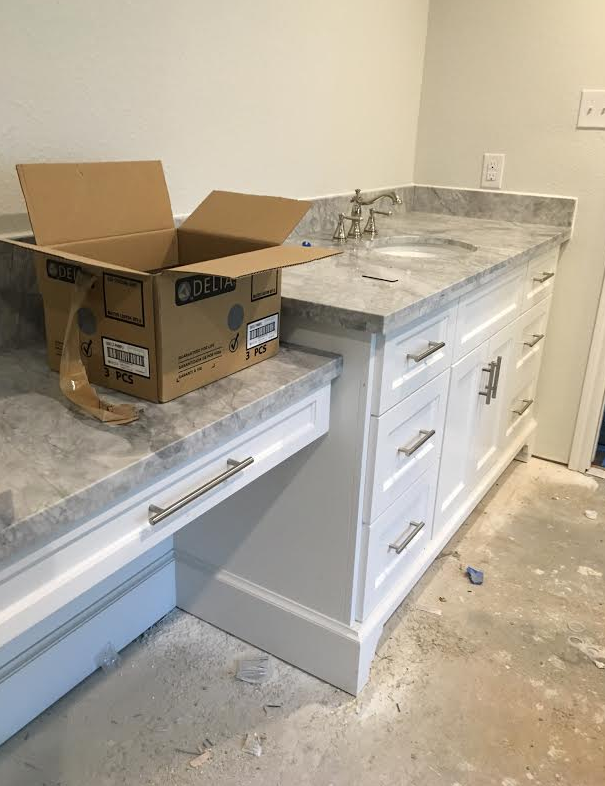
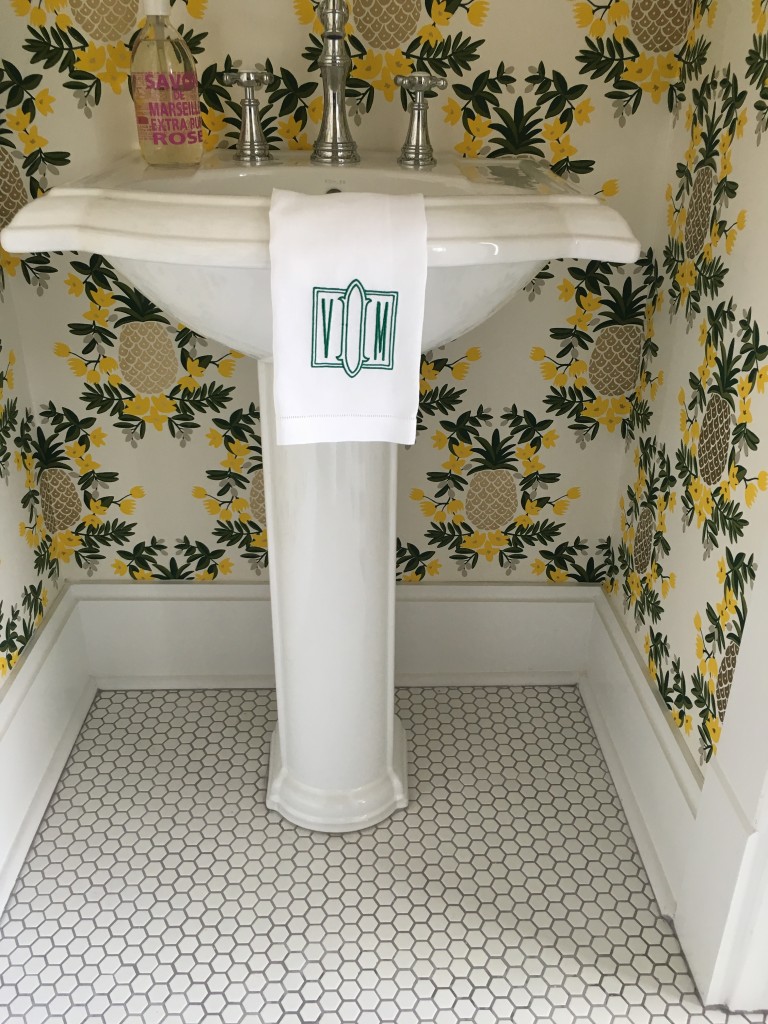
The homeowners have finally moved into this amazing old home that I blogged about here . . . I am looking forward to sharing more complete images but for now a few sneak peeks starting with this downstairs powder room!

This powder is just right off the kitchen which has turned out so pretty!
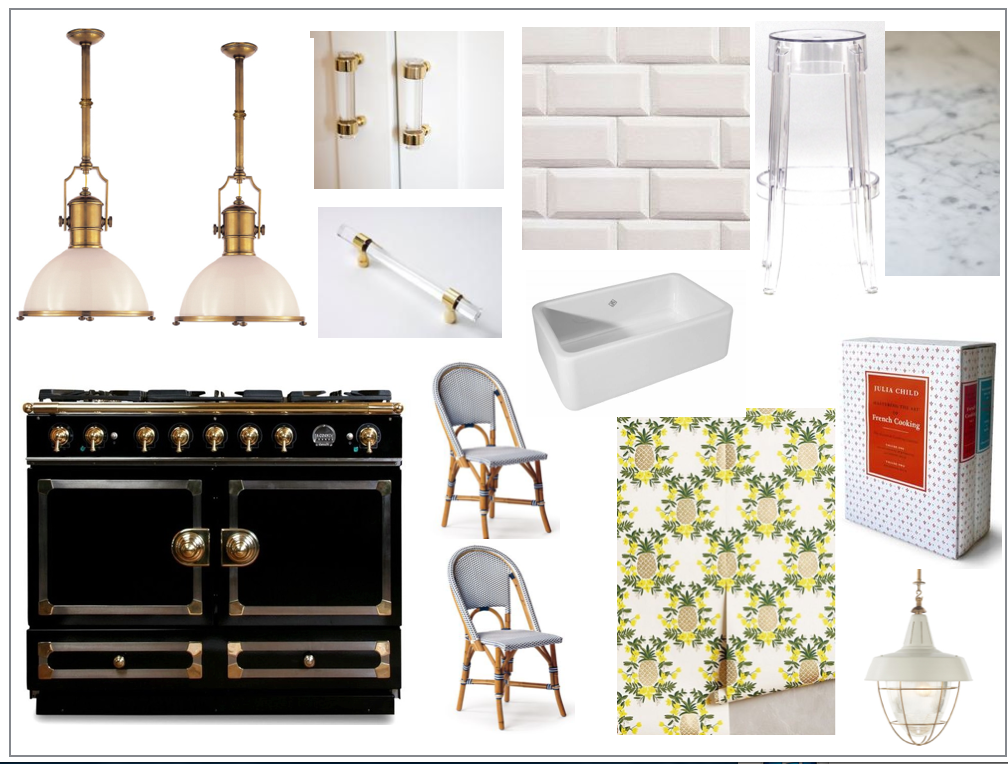
This was our inspiration board for the kitchen . . . the Visual Comfort bakery lights and glass (not lucite) hardware are a nod to the Victorian Era . . .
The range oh the range! The homeowners own several bakeries in Houston so this range oven will get put to good use!
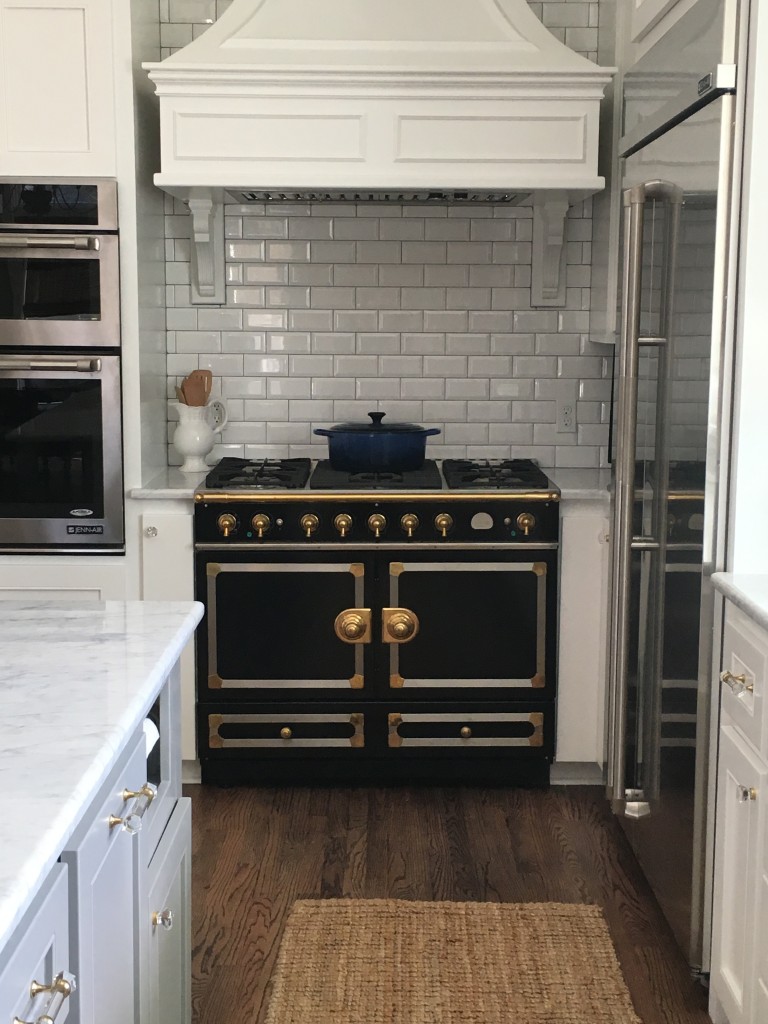
Plus its just pretty. . . along with polished marble counters and an entire wall of subway to add interest and utility in a tight space!

In the entry, the stairs got fresh needlepoint look animal carpet from Stark! Keeps the house from being too stuff or old for his young couple. Turned out so fun and classy!

In fact, floors in this home were one of the best part of the projects..original wood floors where possible and buffalo check “tile” in the laundry and hex in baths…lots of hex..very true to the age of the home.

Don’t be afraid to mix floors as long as colors are similar it adds to the charm of the house and is a nod the fact that laundry and kitchen areas in old home were often added on and “evolved”;
Love this shot of the back door. The homeowners added a new porch along back of the house that mirrors the original wraparound porch on front!

This tile is simply from Daltile but adds so much to the laundry room along with the Henry light.
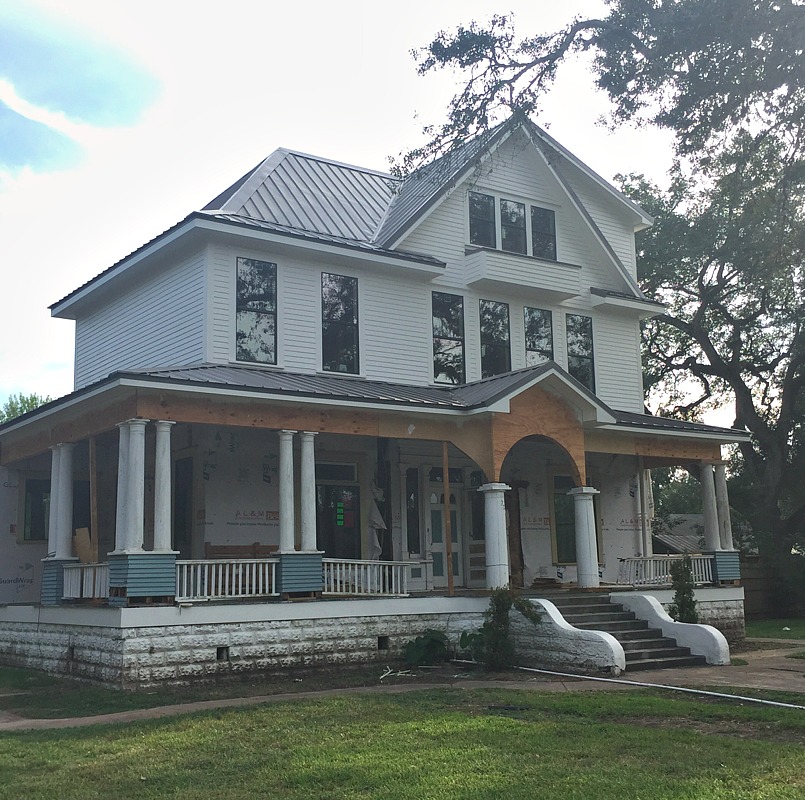
This was the exterior mid way through remodel.
A few more snaps of homeowners Mike and Vanessa and the longggg process. I think they will agree it has been worth the wait and the construction company did an amazing job!


I can’t wait to show more. It has been such an honor to work on this home. The homeowners are great people and it has been a joy!
All lighting was purchased via True Blue Home .